30 December 2015

Announcement time

Hi Guys In my last post I mentioned that I would be back today with an announcement and here it is;


I have got myself a place on the Robins Nest Design Team, it's a six month placement and I will be posting project on the 1st and 3rd Friday of the month, starting on  Friday 1st January 2016, what a super way to start the new year.

If you have not visited their blog or web shop before please take a moment to pop by, I have linked the details below.

Robins Nest shop

Robins Nest blog

I am super excited and cant wait to get creating and sharing my projects, on my scheduled days I will post a teaser here and link to the full post with tutorial which will be on their blog.

Well that's all from me for now but I will be back very soon with some lovely projects Tx 

21 December 2015

A very handmade Christmas

It's beginning to feel a lot like Christmas


Hello crafty friends, A huge big Christmas hug to all of you, I don't know about you but I love Christmas, i love everything from the yummy food, the fantastic company and of course the crafting. 

This year has been a huge year for me, I have started my blog, launched a facebook page, set up a Pinterest account, joined a design team, guessed designed for a craft company and totally filled my home with handmade goodies. I have enjoyed sharing my crafty adventures and makes with you all, and most of all enjoyed hearing your feedback and seeing your creations with were inspired by mine.

I thought I'd share some of my Christmas makes with you


Some little felt decoratoins I made with my children


My children advent tree


Lots of handmade cards to send to family and friends


Hand painted folk art Baubles


Folky Christmas cards


Embossed Kraft gift tags


Decopatched stag


Christmas bunting


Some of the decorations on my tree


A little decopatched stocking


Tree bunting


And of course lots or presents waiting to be opened.


Wow, as you can see it's been a busy period for me and my crafting but so worth it.  There is still some baking to do and a trip to London to visit my family and then I can sit back and enjoy fun and games with my children.


I wish you all a merry Christmas and a happy and healthy new year,  I hope Father Christmas brings you some lovely presents and you have fun and make lots of memories.

I will be back on 30th December with an announcement!


Tx


18 December 2015

Paperbabe stamps December release - DesignA tweed stamp set

Paperbabe stamps December release 

 DesignA tweed stamp set


Morning my lovely crafty followers, well day 3 is here and on this the final release day for 2015, I am so excited to introduce you to the DesignA tweed stamp set.  


I know you are not meant to have favorites but this is one of mine, there are so many uses for it.


Let me start by showing you what I have created


This mens blazer card was made using the dog tooth stamp that comes in the set, its a repeating pattern and so easy to match up. I also stamped several piece of card with different colour combinations and styles so I have some ready made backing papers for future projects.  The stamps really do allow you to be the designer.


The rest of the design team have been busy creating wonderful projects too so please take a moment to stop by their blogs and leave them a comment whilst getting some inspiration.


If you pop over to the Paperbabe Stamp's blog you 'll be able to see what Kim has made and she'll tell you a lot more about the set and how it can be used. You will be able to buy the DesignA tweed set on ******* from the Paperbabe Stamps shop.


Here are the links to the other team members blogs;

Kim   Chris   Delphine   Katie   Dawn   Alicia

17 December 2015

Paperbabe stamps December release - Herringbone stencil and Winter Fairy wing template

Intorducing Paperbabe stamps
Herringbone stencil and fairy wing template


Thank you for joining me for day 2 of the December Paperbabes stamps release, today I am sharing the Herringbone stencil and Winter fairy wing template.


Wow are you in for a treat with these 2 products, the things you can do are endless.

Herringbone stencil;

I created a male themed birthday card by inking through the stencil and adding a simple sentiment, the crisp pattern is fantastic.


Winter fairy wings template;


I created my project using the new winter fairy wing template, mini profile face stamp set, torso and hair mixed media templates


.


You can see more from Kim who designed the products over on the Paperbabe Stamp's blog, you will be able to buy the on Saturday 19th December from the Paperbabe Stamps shop.

Here are the links to the rest of the Design teams blogs where you will find many more inspiring projects created with the new releases.

Kim   Chris   Delphine   Katie   Dawn   Alicia


I hope you will pop back tomorrow to see what day 3 has in store for you, believe me you wont want to miss it.

16 December 2015

Introducing Paperbabe stamps December release - mini profile face stamps and templates

Introducing Paperbabe stamps
December release - mini profile face stamps and templates


Good morning crafty folk, thank you for joining me for day 1 of the Paperbabe stamps December release. Today we are introducing the mini profile face stamps and templates.

As always I will share with you what I have created with the new products and point you in the right direction to see what Kim Costello; designer, artist and owner of Paperbabe stamps has done herself.


So here is my creation


I created my mini artwork using the profile face stamp set, torso template and hair template. All of which will be available to buy from the Paperbabe Stamps shop.

I have to say I could have played for days with these stamps creating different looks. The different eyes, lips and ears are amazing but then there are also 4 hairstyles that you can also purchase  in the form of template so the options are endless.


For Kim's creations please pop on over to the Paperbabe Stamp's blog the stamps will be available to purchase on Saturday 19th December in the Paperbabe Stamps shop

Here are the links to the rest of the Design teams blogs where you will find many more inspiring projects created with the new releases.

Kim   Chris   Delphine   Katie   Dawn   Alicia

11 December 2015

Paperbabe challenge 23 - Sprinkle of Glitter

Paperbabe Stamps Challenge 23 - 11th December
Sprinkle of Glitter


Good Morning everyone,

Over at Paperbabe stamps we have a new challenge on the blog today! You could be in with a chance of winning some Paperbabe stamps goodies worth up to £20.

The theme of this challenge is "Sprinkle of glitter", you can interpret the theme however you like, you just need to get creative.

Here is my card;


I made this card using the folk-fabrique-stamp-set and the light from within quote stamp.


You can find all the details on how to enter the challenge at the Paperbabe stamps blog

I hope you'll give it a try and enter Tx

10 December 2015

Christmas card making

It's Christmas time

I thought I'd share with you some Christmas cards I made at the weekend using Craftwork Cards Products.


This cute little card was made using a technique taught by Julie Hickey - CWC demonstrator.


This is a simple card with a cut away window and the sentiment added inside


Another of Julie Hickeys techniques, I love this card, it will have to be hand delivered as it's to big to go into an envelope


I love the simple look of this card but think it's needing a sentiment


I'm not sure if you can tell but there is glitter on all of the dots, it took a while to cut the sign post using my scalpel but it was worth it


This card has a little flap with a hidden message underneath


A cute little bird and a touch of glitter


The holly berries on this card have an epoxy glaze on them and they look raised 


This card has glitter, foil and epoxy on it yet it doesn't look to over the top


This card was made by both me and my daughter Katie, I love the icy lilac and blue


This final card brings together 3 different kits, the Colour with Candi kit, the tartan paper kit and also the festive calk board kit. I cut a section out of the topper to allow the tartan paper to pop through.


I hope you like the cards I've shared today, it was just a quick post as there is lots going on behind the scenes. that I will be sharing with you in the next 2 weeks but until then Mums the word! Tx

03 December 2015

Beau Papier

Good morning everyone

I thought today I could share a few cards I made with Craftwork cards "Beau papier" kit. It's their most recent release can consists of a mix of bright bold colours and natural muted tones, I know, I know, it sounds like a clashing of colours but believe me it's not.

The kit has natural Kraft coloured paper, designs resembling paper cutting patterns and so much more.


Here's what I've made so far;

My first card is a very simple one; A piece pf baking paper in a chalky pink with a Kraft brown topper, a paper flower and a thin twine bow, understated yet luxurious.


This card was made using the matching clear stamps from the Julie loves range, a topper from the main kit and some twine.


The next card is a bit brighter and a fancy shape, I was getting a bit braver here. The Aubergene, pink and natural brown really compliment each other. The flowers are from the kit and again I added some twine.


For this card I used one of the stamps in the Julie love stamps collection,a topper from the kit and some twine.  As I was using a Kraft card blank I thought it would look nice to cut some of the topper away to show the brown underneath.


This one is my favorite so far, I love the pink, white and Kraft. Very natural and girly.


I always like to make use of the off cuts especially when the paper is as pretty as this. A banner/pennant is a great way to use them up and layering contrasting colours and patterns gives a funky look. 


My final card was made with 3 stamps from the Julie loves range, a border stamp, the heart and a flower. I stamped using Versamark clear ink and heat embossed with copper embossing powder.  I mated and layered with Plum and white card, added some copper pearls. I realised I didn't have any purple ribbon so out come a Plum promarker pen and some white organza ribbon, I still have purple finger nails but it was worth it as the bow coordinates beautifully.


I hope you like my creations, I'll be back soon with some more crafty makes Tx

01 December 2015

Life in colour - Tutorial 11

Life in colour.


I love colour and how it makes me feel but when it comes to my crafting I easily fall into the habit of using the Same colour combinations so I decided it was time to step out of my comfort zone and play with colour.

Difficulty;   Beginner-Intermediate
Time;  45 min 

Materials;

Imagine Crafts featuring Tsukineko:  
Clear embossing powder
Momento luxe in Pear tart, Morocco and Dandelion
sponge daubers
ink potion no 9

Miscellaneous:
A4 Watercolour paper, Brayer, Pink acrylic paint, Tile, Stencil brush, Sequin waste (Punchinella), Old gift card/piece of plastic, Alphabet stencil – free from a craft magazine, Texture stencil, Heat gun and baby wipes.

Directions;


Add Pear Tart Ink on to the tile and spray with Ink Potion No 9, roll the brayer through the ink a few times, now roll this across the paper in several directions


Repeat this process with the Moroccan and Dandelion inks making sure to clean the tile and brayer between applications with the baby wipe so the ink doesn’t muddy.


Pick up some of the ink from the tile with a sponge dauber and apply it through the sequin waste.


Next put some Pink acrylic paint onto the tile and use an old gift/bank card to dab the paint.


Use the card to make some lines on the page to add another layer of dimension and colour.


Add some ink through a texture stencil using a stencil brush, the awesome thing about the Memento Luxe inks is that they are so creamy and stay wet until heat set.


Using an alphabet stencil and the Memento Luxe inks add the wording to your project, you can use different words to suit you.


When all the lettering is complete cover all inked areas with clear embossing powder and melt.              


Lastly, use the remaining ink on your brush to distress the edges of the paper with small circular movements.

Here is my finished project. I am going to use it as the front cover of an art journal which I will use to store all my colourful arty makes.


29 November 2015

Naturally Gorjuss - Tutorial 10


Good evening everyone, I hope you are all warm and safe out of this nasty storm.  Today I decided to make a natural looking card with a image from the Gorjuss range and wanted to share it with you so that you could have a go at making one too.


Here's how I made it;


I started with a A5 Kraft card blank and edged it with a dark brown alcohol marker


I used a Tonic studios tag die to cut a tag from some brown card


I then used the tag with it's oval inner ring to cut a patterned frame


The die set has a 3rd inner die which I used to cut a little oval mat which my image will sit on


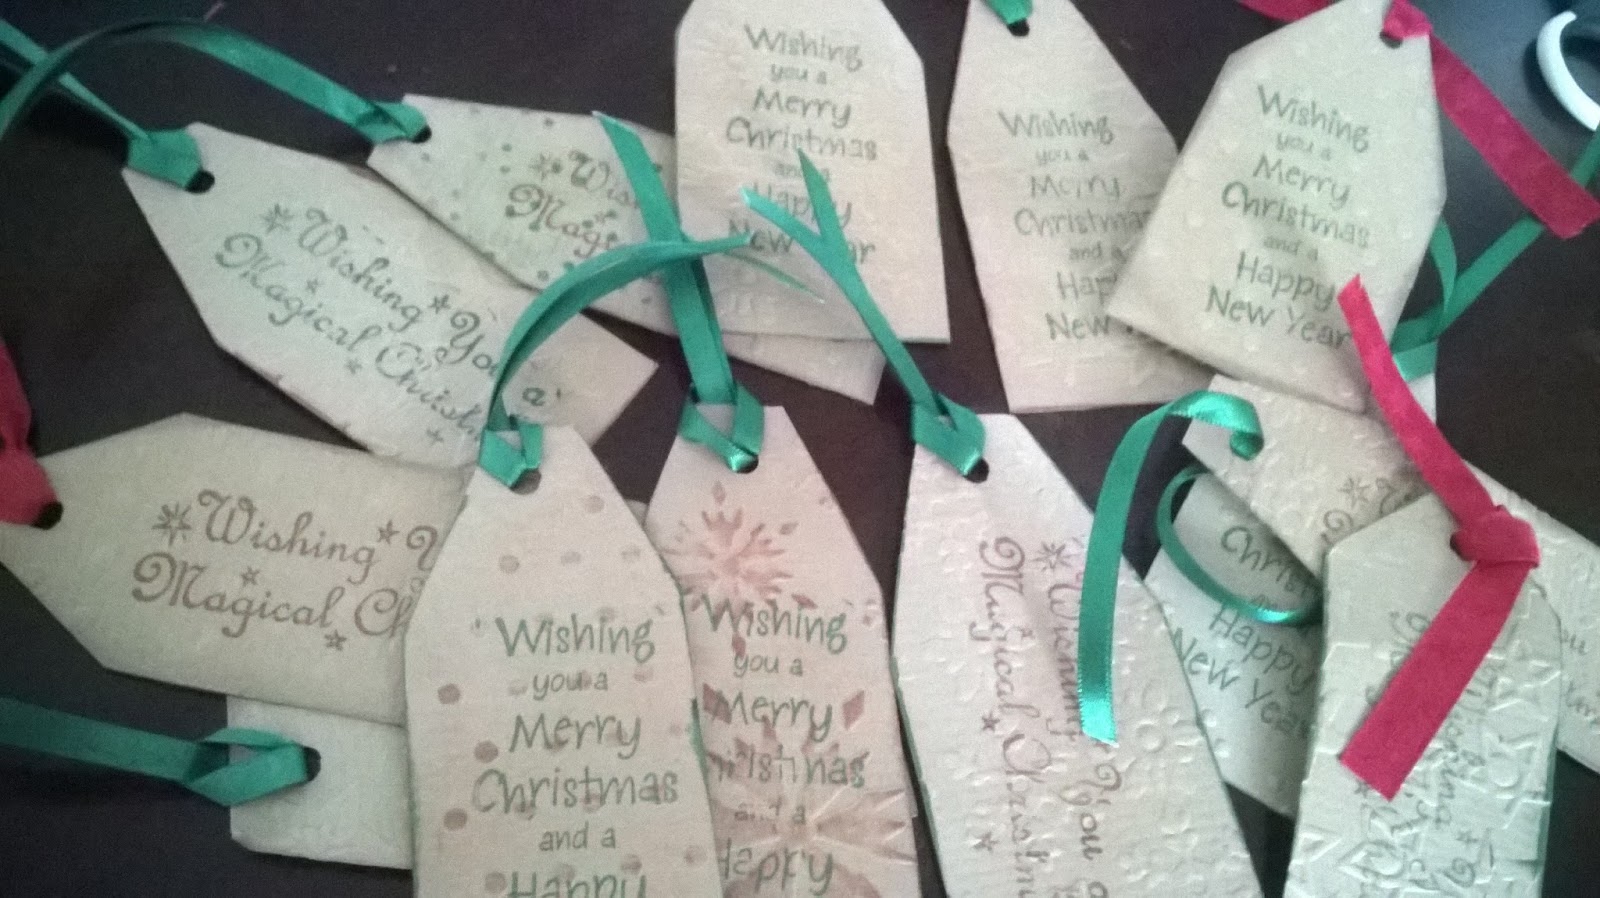
I cut a little sentiment from brown card


To cut my image I used the inner most ring as a template I drew around it and cut it out with some scissors


Hand cutting a curved shape is never 100% perfect so I edged the image with a dark brown pen, this helps to detract from my wobbly cutting


I tied a little bow from 1 ply twine. I do this by making two loops and knotting them together as this results in the loops and tails sitting neatly opposite each other.


Now for laying the card up, I use hi tack glue to stick the brown tag base to the card


I then glue the tag frame in place


And then I added the oval mat


My image was cut from shiny card so I had to make sure to get good adhesion. A little added pressure while the glue grabs will help 


I then added my sentiment in the bottom as it makes you want to open the card and see who it's from


I then added some paper flowers to the corners and the bow I tied earlier


And here we have it, I think it's a super cute card and I love the natural look and feel.


I hope you like like it and if you do have a go at making one yourself please send me a link in the comments section below, Crafty Hugs T x