Showing posts with label Craft 101 series. Show all posts

13 July 2016

What is the difference between pigment and water based ink - Craft 101

The world of inks can be a minefield for a new crafter, with so many types to choose from and each with it's own qualities you're bound to have a few faux pas's. I hope to give up a heads up on the main types of ink and how I use them in my crafting.

Now I may not be Martha Stewart or Sheena Douglass but I like to think I have a good bit of experience, I know only too well how annoying it is when you stamp a perfect image and start to colour it and realise you've used the wrong ink and it bleeds the ink line, this is where the naughty words slip from my lips and my husband calls me potty mouth lol

Here are the inks I currently have in my stash (well not every colour but every type)


Pigment Ink
  • Normally comes on a foam pad as the ink is thicker.
  • Takes longer to dry as the ink sits on the surface of the card/paper
  • blendable
  • fade resistant
  • stains clear stamps!!!!


Alcohol Ink


  • Usually comes in either pen or bottle form
  • very blendable
  • If using for  colouring you will need to stamp in a Memento Ink so as not to bleed your image


Dye Ink


  • vibrant colours
  • water solubale
  • Can stain clear stamps


Water based dye Ink


  • Can be used with water to colour imagery
  • use on lighter coloured card and paper
  • quick drying 
  • available in lots of colours
  • colour fades over time so not good for scrapbooking


Chalk Ink


  • permanent when heat set
  • similar to pigment inks but with a chalky finish
  • great for darker card and paper


Distress Ink


  • slow drying so can be used for heat embossing
  • can use for water colouring
  • blendable
  • used to create numerous effects


Versamark Ink


  • use for heat embossing
  • leaves a tacky substance which you can add mica powders too


I found a very handy reference chart for showing ink properties which may be handy

http://www.paperwishes.com/stamping101/images/layout/inkpads.pdf


I really hope that this post will help those startling off in the world of stamping to avoid some of the issues I had in the early days.

Take care, until next time T x

11 June 2016

Which glue should I use on my craft project - Craft 101 Glue and Adhesive

Hello crafters, welcome to the second installment of craft 101, this week I am focusing on Glue and Adhesive.


Those of you who have entered a craft store will know only to well that there are a plethora of items available to help you stick your projects together, from liquid glue to tape runners but where do you start? Right here of course.

Let me take you by the hand and walk you through my adhesive choices......(you might want to grab a cuppa and make sure you're sitting comfortably, we've got a lot to get through)


PVA


PVA is a white liquid glue, it's a craft basic. Most people will have used it as sometime in their life. The great thing about PVA is that is dries clear and is easy to clean up. It's also safe for the little crafters in your life too.


Hi Tack Glue


Hi Tack glue is something I can't live without. It's so versatile and I use it on almost every project I create. It grabs quickly and holds a very strong bond. I use it add embellishments, mat and layer and for home decor projects.


Glue Gun


The glue gun is a super tool to have in your craft box. A super fast hold when you need it and you can get different coloured glue sticks and glittery ones too. A word of caution, it's HOT and hurts when you burn yourself. I use mine for adding bows and flowers to projects.


Quickie Glue pen


The quickie glue pen gets a mention as it's so handy for the delicate intricate areas of your projects and also applying glitter to tiny areas. 


Double sided tape


A must have for any crafter, perfect for matting and layering. It's not as quick as the tape runner but I find it really good and I have a little trick with you.


Red liner tape


Super super strong, perfect for thicker materials and acetate. You can also use it to add lines of glitter to your projects.


Foam tape and pads


Used to add height and dimension to your projects. Available in a number of size and thickness', you can even get black and clear versions too. Many people use them for decoupage.


Double sided adhesive sheets


(Not much of a picture, I know)


These are amazing, you can use them with you cutting dies and punches, how about die cutting a heart from the sheet and sprinkling with glitter or adding foil or gilding flakes. You can cut a piece of paper or card to the size of your adhesive sheet, remove one of the pieces of backing and stick together, then die cut your really intricate dies, peel off the other backing sheet and apply to your project, no faffing with glue and cocktail sticks.....You can get several different sizes and brands too. 


Mod Podge


This glue brand has a variety of products for different types of craft. I have their decoupage glue which I use for applying decopatch papers to projects. 

Tape runner/snail


Like double sided tape but comes in a little hand held tool which you run over the area to be stuck and it applies the adhesive, no having to remove the backing from double sided tape! I don't use them as much as I used to as I tend to use a heavier weight card and paper and found that it wasn't always as strong as I needed.


Silicone glue


Silicone glue provides height and a strong hold. It takes a good few hours to dry and some people complain that the smell is off putting. I use it when I decoupage.


Spray adhesive


A super little invention, perfect for all those doily like die cuts, or for spraying on to a 3D project and then adding glitter
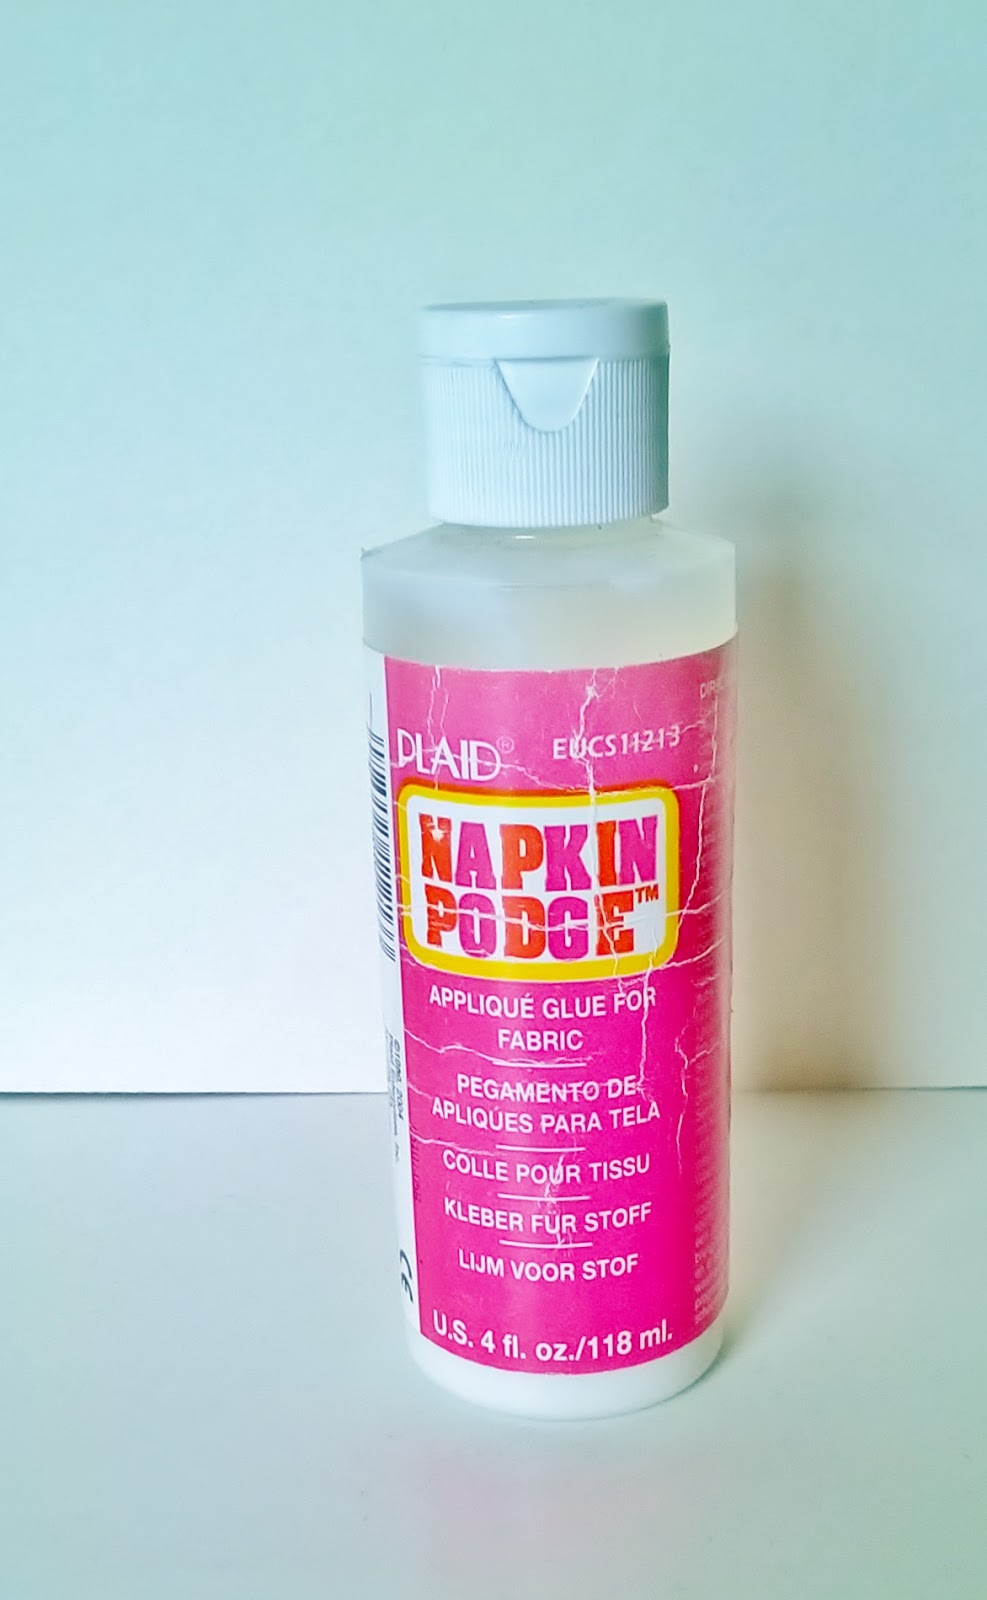


Fabric Glue


I use napkin podge from Plaid, it works in the same way as mod podge and PVA, quick and clean, just the way I like it. Fantastic for adding applique to sewing projects. 


Glue Dots


They come in lots of sizes and also in sheets, you can use them to attach your embellishments to projects. The sheets of sticky dots are fantastic for tricky/intricate die cuts, you peel back the top protective layer place your die cut on top, give it a little pres and peel off, then it's ready to apply to your cards.


Glitter Glue 


OK, so glitter glue isn't used to adhere things but is used as an embellishment, it does however contain glue which is a carrier for the glitter, allowing you to control the application. I love stickles as they have a high glitter content and a fine point tip.


As you can see there is a glue/adhesive for every job and if you want your projects to stand all the handling they are sure to get from amazed friends and family then you need to use the right product.

There are many brands and types available in the shops and online but these are my personal choices, I'm not affiliated with any of the companies mentioned/featured.

04 June 2016

Which items should I have in my basic craft tool kit - craft 101

Wow I can't believe I have blogged 101 times over the last 15 months!

Firstly I have to say thank you to those who read, share and comment on my blog because with out you this would all be pointless.

Today see the start of my Craft 101 series. What is that I hear you ask, well it's something new, I was thinking about new and less experienced crafters and how I could appeal to them and pass on my experience, in Craft 101 I plan on creating posts focused on particular skills and tools and hopefully answering commonly asked craft questions.

Today I am focusing on my basic tool kit, so grab yourself a cuppa, get comfy because here goes......


My cutting kit;


A Swann Morton number 3 scalpel handle and 10a blade, a good pair of scissors, a non slip metal ruler from Xcut and a large Xcut glass cutting mat.  With these cutting tools I find I can do all the cutting I need, Most crafters will also have a paper trimmer and/or a Guillotine too, I'm yet to find one I like and can rely on...............if you have any suggestions for a good one let me know.


Stamping and kit;


Clear acrylic blocks to attach your stamps to, Stamps,  Memento Ink , Versamark Ink for heat embossing ,Versafine ink for intricate images , Embossing powder and a heat gun......they kind of go hand in hand. Oh and definatly baby wipes and kitchen paper for cleaning up, because lets face it where there is crafting there is mess and tidy tray to collect the excess embossing powder.

Colouring Kit;


Promarkers for colouring in stamped images, I'm not an expert colourist but I do dabble, Distress ink is so versatile and can be used to create a water colour effect, Water colour pencils are more percise and can me used in a tighter space too.


Card and Paper Kit;


There are so many option that you could include in your card stash but for me I couldn't survive without 6x6 cards and envelopes, black and white cardstock. I do have lots of other patterned papers but they will be mentioned in future posts.............I may even show you inside my paper cupboard!


Glue kit;


For me double sided tape is a must, it's quick easy and allows me to tape all my layers and then construct my project where as glue would dry to quick, tacky glue is great as it grabs quick and is strong, foam pads and tape for dimension in my projects, red liner tape for a strong bond and a glue gun.


These are the things I would include in a basic kit, of course there are so many more items that after 14 years of craft are " my essentials" and I plan on taking you through them in another post and explaining why I can't live without them and what I use them for.


I will be back with another post soon, if you have any questions or anything you'd like me to feature then get in touch either in the comments or by emailing me at tkoszler@yahoo.co.uk


TX