25 February 2019

3 Ways with Altenew's Creative Edge; Lace die

Welcome to the next edition of "3 Ways With", today I will be focusing on the Lace Edge die from Altenew's Creative Edge's range.

As always I will show you 3 ways in which the die can be used and link all of the products used at the end of my post.


I created lots of patterned papers with some Distress Oxide Ink Pads; (Frayed Burlap, Peacock Feathers and Old Paper) and Kuretake Gansai Tambi pearl colour paints, I wanted a soft feminine look that I could use to die cut flowers from.

Lace edge

My first card shows the simplest way in which the die can be used, to create a lace edge on your card. I cut a piece of Neenah solar crest to 4.25" x 5.5", I placed the Creative Edges; Lace die on the right hand side and added washi tape to hold it in place while running it through my die cutting machine.


I paced my die cut panel onto some blue card as that it shows through the lace area. I flicked distress ink and Kuratake Pearl colours to create a speckled background. I added a flower and leaves using the Peony Dreams 3D die set. I also stamped and heat embossed a sentiment using the More than words stamp set,  Embossing Ink and Platinum Embossing Powder.

Twin lace edge panel

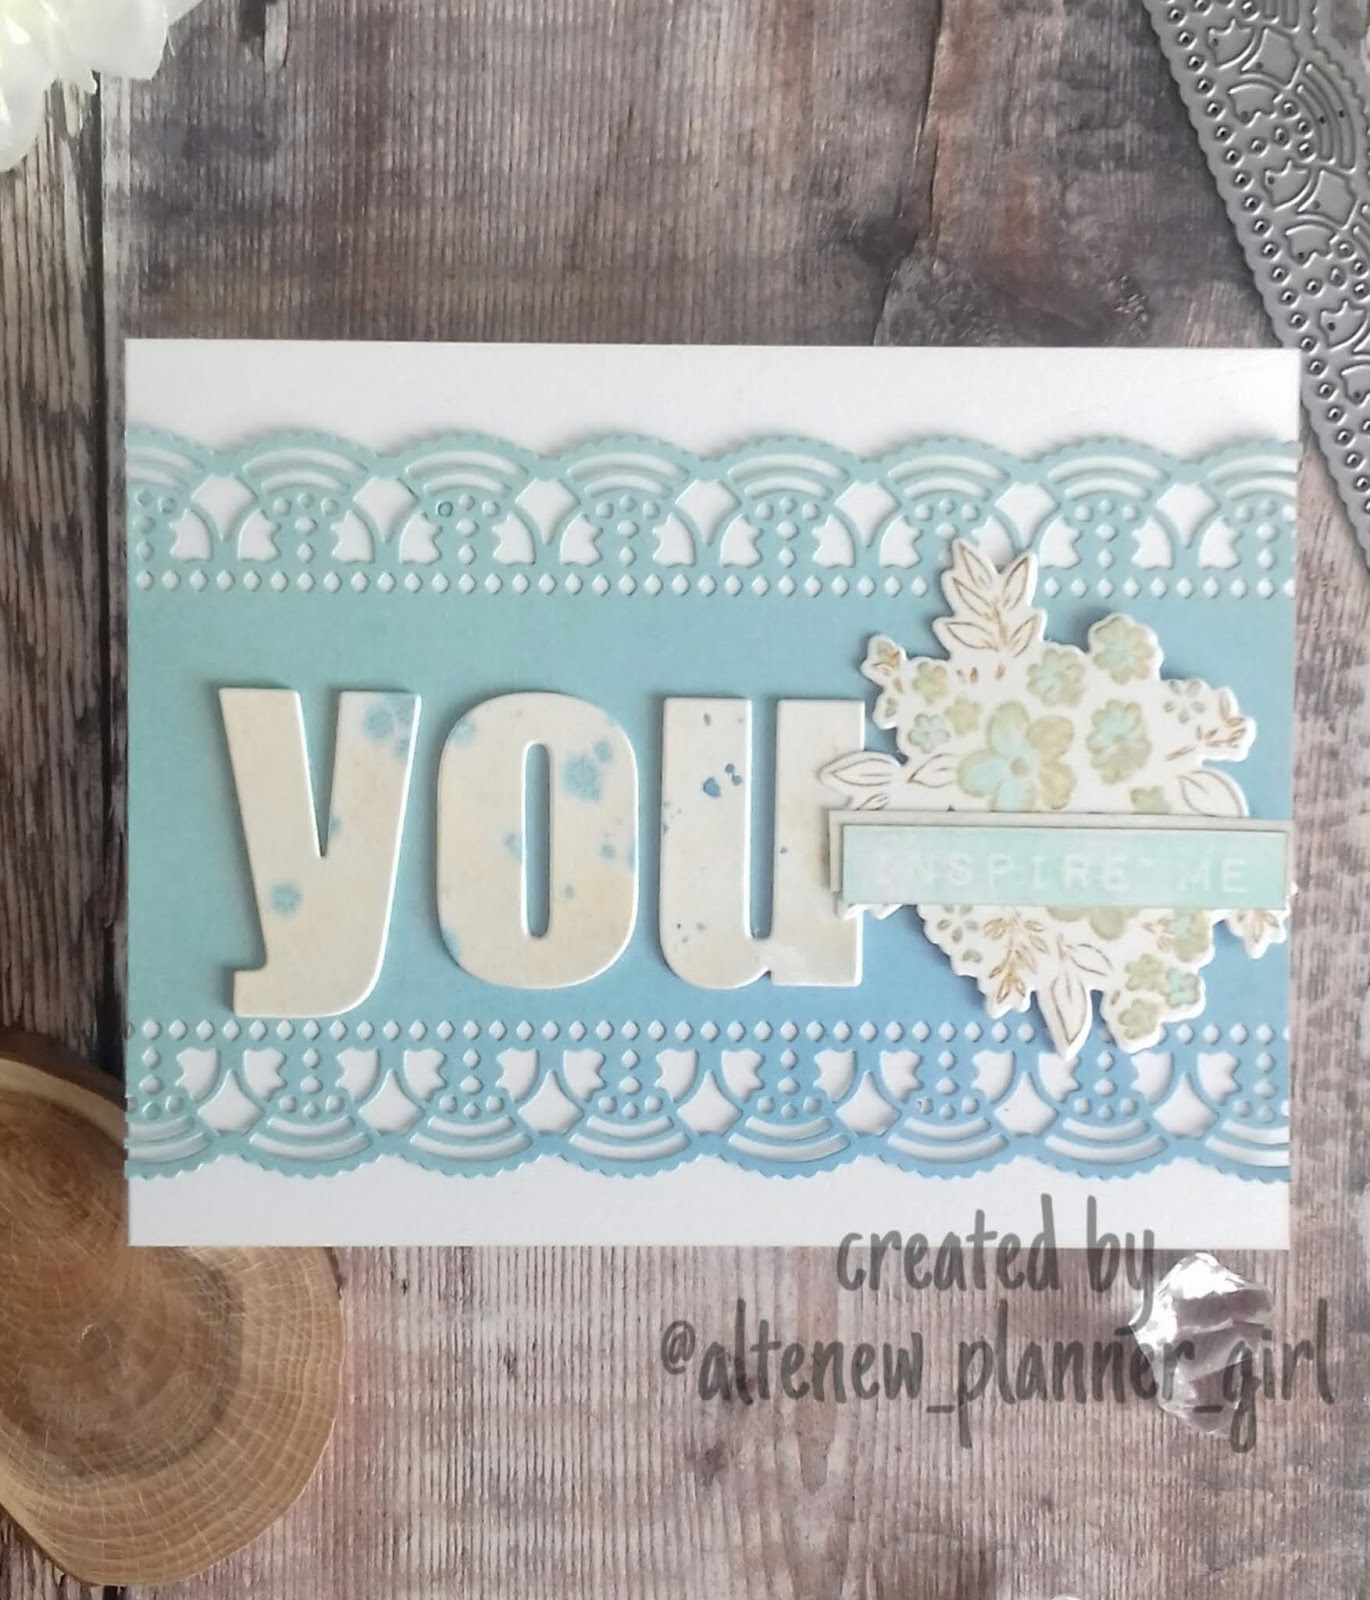
The die can be cut twice, creating a twin lace edged panel. You can cut further apart or closer together to create a different feel. I cut a piece of blue paper to use as a panel on my card, it makes a great focal point.


I cut the letters using the Bold Alpha Dies set, I cut them 4 times and stacked them up to create a faux chipboard. The sentiment strip is from the Label love stamp set.  To keep the floral theme flowing, I added a floral element using the Ditsy Print stamp and Ditsy Print die set. (Inks listed below)

Lace backdrop

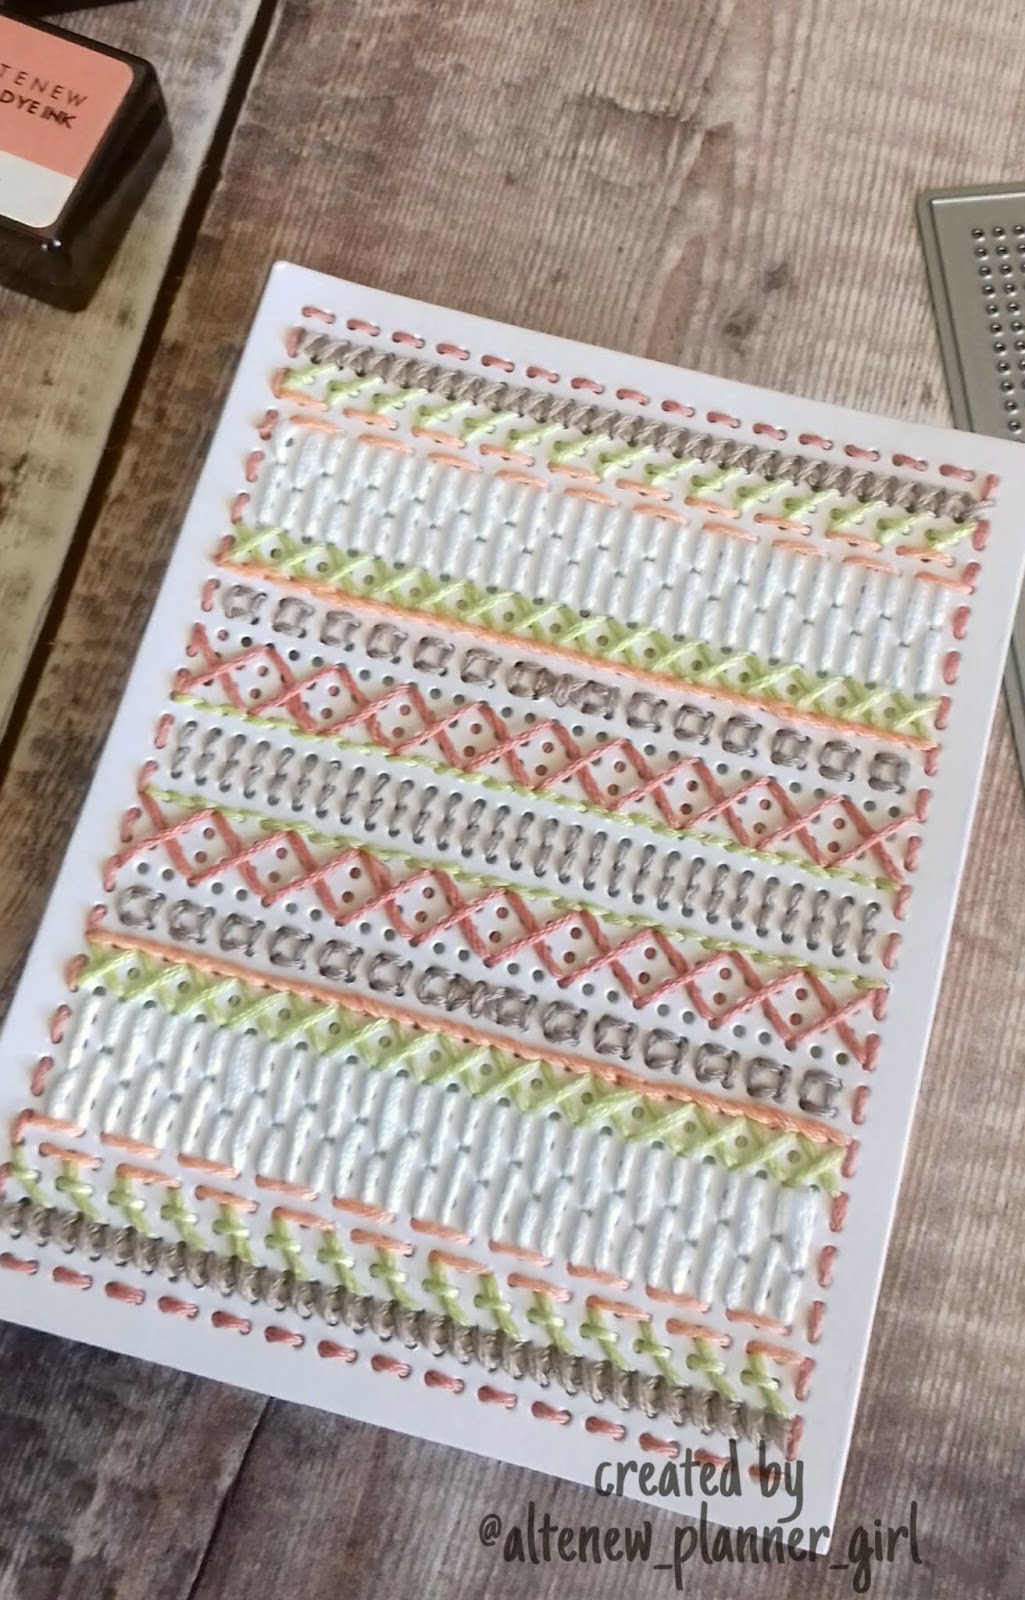
The die can be used to create strips of lace which can be butted up to each other to make a lace panel. I cut 3 of the lace edge and adhered them to a piece of blue paper, to create a lace feature at the bottom.


I then cut flowers and foliage from my home made papers using the Rose Flurries dies. I added some splatters using the Kuretake Gansai Tambi pearl colour paints and added an embossed sentiment using the Label love stamp set and Platinum Embossing Powder.


Altenew products Used


Thank you for stopping by today, I hope you like the cards I made. I'll be back soon with more crafty makes. Have a fab week.

23 February 2019

Zentangle for card makers day 2

Hi there, I hope you are having a great weekend, today I am sharing a card I made as homework for day 2 of the Zentangle for card makers class over at Altenew academy.


The homework was to practice the catkin pattern. I found the pattern itself easy enough to draw, but the placement of it on my project was something I struggled with. I think this is mainly because I dont like my own doodles (or handwriting)


To create my card I created a water colour background using Spring Garden Watercolour Brush Markers on to watercolour card. Whilst this dried I stamped out one of the floral images from the Frosted Garden stamp set using 4 ink colours; Bamboo, Forest Glades, Hydrangea and Pink Diamond.

My design was placed onto a panel cut with the Dotted Scales Cover Die

Right that's it from me, I'm off to take lesson 3 and prepare Monday's "3 ways with" post

Have a good day.


22 February 2019

Zentangle for card makers day 1

Happy Friday guys, today I am sharing a zentangle card with you.

I am currently taking the Zentangle for card makers class over at Altenew academy


On the first day the tutor Amber, taught us to use "aura" on outline stamped images.  I used the Beautiful heart stamp set from Altenew to stamp the flower and leaves. I added one layer of the detail using the last layer stamp, this guided me when adding my lines.


I used Minty mint and Pink Diamond inks, the sentiment is from Ditsy print stamp set. I stamped it using jet black ink and added a strip of golden edge washi tape.


I'm about to take the day 2 lesson, I can't wait to learn another technique and to share my card here with you.  Have a fab weekend, I'll be back soon.

18 February 2019

3 ways with Altenew's Pocket banner die


Hey there crafty friends it's Monday so that means another edition of 3 ways with. Today I am focusing on the Pocket banner die from Altenew. 


The die has a stitched outline and comes with 2 circle dies which can be used to cut holes so that you can make bunting or hung projects.

As with every edition of 3 ways with, I will be sharing 3 projects and linking the products used below.


This car uses the pocket banner die as an overlay panel, it's a fun way to add a different look and feel to your cards. I like to add a solid colour behind a white overlay as it makes your images pop.

I used the Floral art stamp set along with Gentleman grey and Cherry blossom crisp inks.  The sentiment is from Label love stamp set. I also added a few Enamel dot to embellish.


Next up is a little home decor project, I used the dies to cut the banner with the holes for some ribbon to go through.  The background was stamped using a leaf from the Spring Daisy stamp set.

I die cut the Mega ampersand die in gray card and stamped and die cut the words Hugs and Kisses using the Inked Rose stamp set.  The flower is also from the Spring Daisy set and was stamped in Cherry Blossom inks.


My final project is a gate fold card using 2 pocket banners. Below I've added some pictures to show how I created this project.

The pocket banners have been folded around a card panel to create two doors that open.  The flower is from Just for you stamp set, it acts as a closure using a re positional sticky dot.

I added a label sentiment and enamel dots to finish the card.

Here's how it came together, 


I cut 2 pocket banners and adhered them to my craft mat using washi tape


I then added the leaf burst stencil centrally and inked through it, this means that the pattern will flow across both of the die cut pieces.


I then scored the banners at 2.5 inches and folded them. I then added double sided tape to the back of a card panel and adhered them in place.


 As always here are the links to the products used in today's post


Thank you for stopping by today, I hope I have inspired you to look at your crafty stash in a new way.

15 February 2019

Paperbabe Stamps challenge #92 DT inspiration

Happy Friday crafters, it's time for another Paperbabe stamps challenge,
This fortnight it's a picture inspiration challenge


I am loving the colours in the inspiration picture, reds, orange and pinks create such a warm feel, something I'm craving right now as the cold isn't making my bones happy.....

Anyway, using the picture I put together a pretty little tag to help inspire you guys.


I used distress oxides on to a gesso coated chipboard tag, I used the smooshing technique, and also added some white ink through the polka dot stencil. I then added  Doodle stars in gold ink.  The light shinning through the balloons in the picture above gave a really soft delicate look and for some reason made me think of butterflies.....

I did some oxide smooshing onto a piece of vellum and let it dry before stamping my butterflies using the Butterfly pieridae stamp set,I fussy cut them and adhered them with glossy accents.

I added a sentiment from the Birthday Wishes stamp set, also in gold ink. Lastly I added some doodles in black and applied some sequins.

To join in with the challenge please pop Paperbabe Stamps Blog

Have a great weekend

11 February 2019

3 ways with - Altenew's Pegboard Canvas Cover Die

Welcome to another episode of "3 Ways with"
Today crafters it's the turn of the Pegboard canvas cover die from Altenew

Where do I start with this die?  When I first saw it I wasn't sure if I needed it or what I would do with it to be honest.  As you know by now, an item needs multiple uses to earn a place in my craft room, after all thats the whole reason I started this "3 ways with" series.

After much deliberation I gave in and purchased it with the thought of stitching lots of patterns, but after a couple of days I realised that I could do so much more with it, today I will show you just 3 of the ways (I'll save the rest for another day)


Pegboard Background


One of the easiest ways to use the die is to create a background panel to sit behind your die cuts.  It's a great way to add detail to a white background without detracting from the main images.

I stamped my flower and leaves using the Beautiful Heart stamp set, I used Mocha, Rouge and Peach Perfect inks for the flower and for the leaves I used Mocha and Firefly.


The sentiment was stamped multiple times using Mocha and then mounted onto some card with a strip of Golden edge washi tape.

Stitched Canvas


This week I've been suffering with a cold and couldn't make it in to the craft room most days, so this project was perfect. I used the die to cut some thick white card and practised my stitching. I'm not sure if I will create a finished piece with it or just keep it as is, either way it was the perfect size for practising on.


Adding detail to die cuts


I thought it would be cool to add details to die cut pieces using the pegboard canvas cover die, I cut the Pegboard die and stamped onto it using the Bride to be stamp set


I then die cut the stamped images using the coordinating die set. I added the die cut pieces onto a card which I lightly inked with Firefly ink and splattered some white crisp spray ink and Rouge ink.


Well there you have it, The Pegboard Canvas cover die used 3 ways. As I said I have more ways to use it (another 3 in fact), maybe I'll do another feature o it in the future.

I have linked all of the products used below


For my stitching I used Duchess embroidery threads in the following colours as they were similar to the inks I used, I have added the colour they resemble in brackets.

6115 (Firefly)
674 (Mocha)
767 (Rouge)
312 (Peach perfect)

I hope you've enjoyed today's post, if you have any requests for items you'd like me to feature, then please do leave me a comment below.

If you want to catch up on previous "3 ways with" posts you can access them by clicking 3 ways with in the labels section on the right.

Have a great week.

07 February 2019

STAMPlorations February CAS Card Challenge


Hey STAMP fans, today is the first day of our February CAS card challenge, the color twist this month is Cerulean Blue.


I created a card using the Hummingbird-Large and Amazing stamp sets.


I coloured the hummingbird with Alcohol markers and added a light lilac ink blended background.

To join in with the challenge, pop by the blog using the link below, where you will find all the details you will need.


I have a discount code for you to use on the STAMPlorations store which will entitle you to 20% off your order, this can not be used with other discount codes

Use>>>>>>  STAMPGIRLTERRI when checking out at http://stamplorations.com/shop/

I can't wait to see what you create.

04 February 2019

3 ways with - Altenew's Love letters stamp and die set

Welcome to a new edition of "3 ways with"
with Valentines day just around the corner I thought today I would focus on the Love Letters Stamp and die set from Altenew

The stamps and dies can be brought together as a bundle or individually. The sentiments in the stamp set are super cute and you can build your own sentiment using the various options. Here are just 3 ways to use this set


Creating Apertures/Cutting into your card 


I used 5 of the heart dies to create apertures in some Solar Crest card. I placed this onto some foam pads and adhered it to a red card.


The sentiment was stamped and embossed in white onto some black card and then onto some red, again I used foam pads to create dimension.  When using embossing powder it is important to use an anti-static pad on the surface you are stamping on to, if you don't have one you can dust the surface with a little baby powder or cornflour.

 Creating different levels of dimension.


I started by cutting some hearts into my solar crest card using the dies from the set, I set these to one side and cut some hearts from gold mirror board.  I added my white card to a red card blank and the added both the gold and white hearts. 


The gold were adhered flat and the white hearts placed on foam pads, this adds more interest and the feel of movement to the card.  My sentiment was again embossed onto black card with white embossing pwder.


For my last card I used only the stamps in the set. I started by stamping some Ruby Red hearts on to some white card. Once dry I then stamped some more hearts, this time with embossing ink and then added rose gold embossing powder before heat setting.


I then die cut this using a large heart die. I also cut 4 red hearts the same size and stacked them up. this was added to the card front using foam pads. I created the sentiment using two stamps, the main stamp says "roses are red, violets are blue..." I then added the "every day is better with you" 

I adore this stamp set,being able to make your own verse for valentines day or a slushy card is perfect.

Below I have linked to all of the Altenew products used in this post;

Thank you for stopping by today, I'll be back with another "3 ways with" next Monday, Have a great week x

01 February 2019

Paperbabe Stamps Challenge #91

Good Morning form very snowy Bristol (UK)

Today I am sharing a DT project for Paperbabe Stamps January challenge.

The theme is "Anything Goes"


I was feeling a little under the weather when I created my project and need to make something that was quick and reflected my mood.

I opened my box of Paperbabe stash and found some Gelli prints I had made for a previous project (I knew there was a reason I kept them) I decided a collage background was the way to go.

I tore the prints into strips, exposing the white core, I adhered them to some thick kraft card using strong double sided tape.

I added some stamped patterns using cogs from one of the sets in my stash. I also added some copper embossing powder in random places and a little gilding wax to add that distressed feel.

The sentiment is a favourite of mine, sometimes I create projects and don't like the finished piece but really good comments from people about them and I'm learning to let my creativity roam free and see where it takes me.

If you'd like to join in with the challenge pop over to the Paperbabe Stamp Blog for more details.

Stay warm and have a great weekend.